Local knowledge: adding events
Now we will quickly demonstrate how you can add events using the 'reach info' tab or the 'map view' tab.
Adding an event using the 'Reach info' tab
Click the  button. The following form will appear:
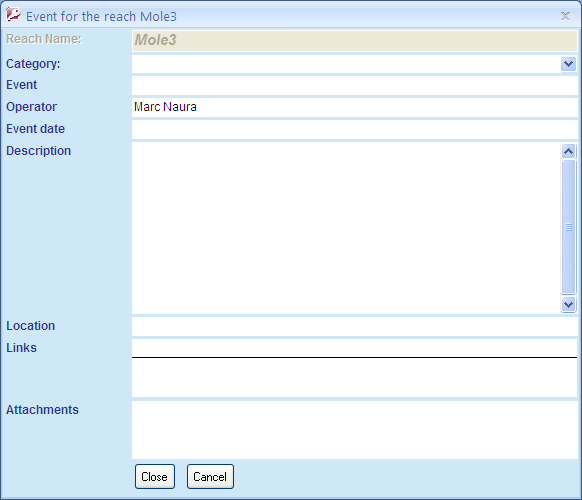
Please note that the reach ID and your name are automatically added.
First choose a category for the event using the drop-down box:

now enter a short title for the event in the 'event' field, a date and a description.
If you want to, you can add:
- The location of the event using six-figure Easting and Northing in the 'Location' field;
- Links to several websites or network folders/documents in the 'Links' list box;
- Several documents related to this particular event in the 'Attachments' list box.
once you have finished adding information, click 
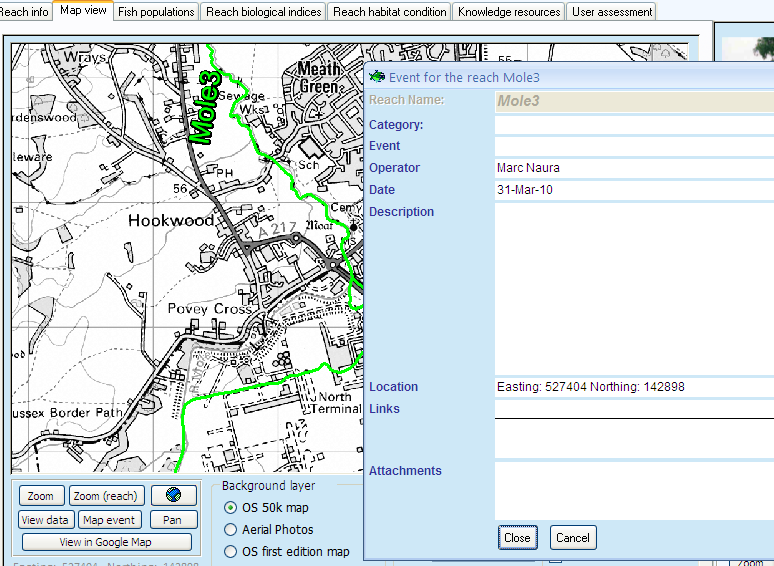
Adding an event using the 'Map view' tab
It can be sometimes difficult to figure out the exact coordinates of events. It is possible to create events directly using the map. Go to the 'Map view' tab and click on  to focus on the selected reach, then use the
  and
and  buttons to zoom to the right location. Finally, click the
  button and then click on the map at the exact location where the event occurred. The same form as before will appear but this time, the Easting and Northing will have been automatically added. Proceed as before and click the
  button to save the event.
Now go back to the 'Reach info' tab and check that your event has been recorded.